Showing posts with label makin monday. Show all posts

Saturday, July 5, 2014

What I'm Makin(g) Monday: Wall Vinyl Decal! {And Giveaway!}

I'm sucking at this meme thing already. I mentioned planning to start one this week, and here I am, finally posting it Monday afternoon...

In an effort to make myself more crafty, and also brag a little about some of my accomplishments, I thought it would be fun to make Monday my craft-related post day. It'll also hopefully be a fun way to see other crafts out there that I haven't heard of and that I'd like to maybe try (or buy) when others link up and share their skills.

Here's the idea: Share a post, a link, a photo, a tutorial, whatever of something you've made. It can be a craft, food, digital design, whatever!! Maybe later I'll get specific with some prompts but for now people can just share whatever they want. I'll also post something I've made which may or may not include a tutorial. For the first little while, everyone who participates will be entered for a giveaway, and I'll announce what the giveaway item is that week. Some may be big, and some may be small, some maybe even be nothing at all... We'll see how it goes. So if you know wannabe crafters or chefs out there, or people who already are, let them know there's another place to share!

This week will be a little different since it's short notice and it's the first week! But there's still a giveaway everyone can enter at the end.

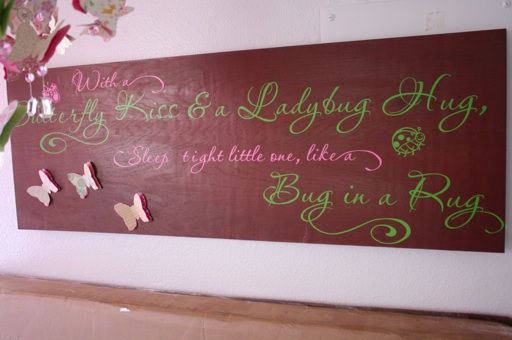
So let's get this party started... As part 3 of my Operation Nursery Makeover, and my first ever installment of "What I'm Makin(g) Monday" I made a wall decal for Spawnie's Nursery.
Trading Phrases contacted me a couple of months ago about their beautiful wall vinyl designs. I checked out their nursery designs and found the perfect one for Spawnie's room!
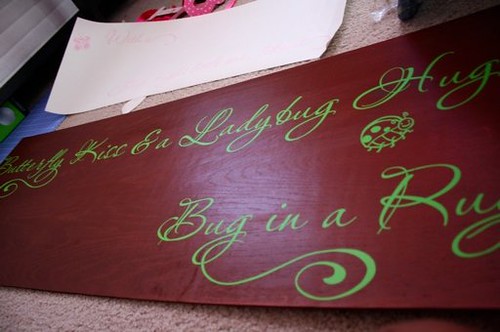
It says "With a Butterfly Kiss and a Ladybug Hug, Sleep Tight Little One, Like a Bug in a Rug." I thought since her room is butterfly themed, and I call her my little bug it was PERFECT.
They were really nice and suggested I get color samples so I knew for sure it would match our room. I did as they suggested and narrowed it down to three greens and three pinks, they sent me a postcard with little stickers of the vinyl's color and I picked my two favorite.

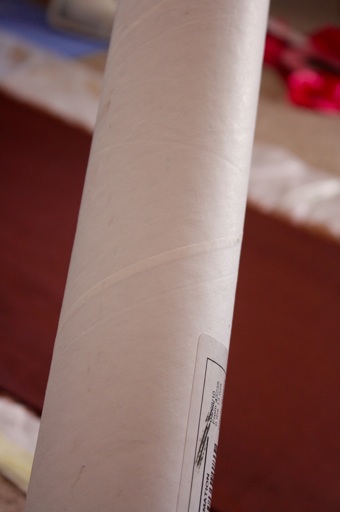
Shortly after I got the vinyl in the mail all rolled up nicely in a tube, and was ready to get to work! But I had a dilemma... Our walls are a little lumpy, "textured" I guess is the correct term. The nice people at Trading Phrases told me it would still work, but the more I thought about it, the more I realized I didn't want to stick it directly on my wall. I remembered a project I did once for my living room and got an idea!
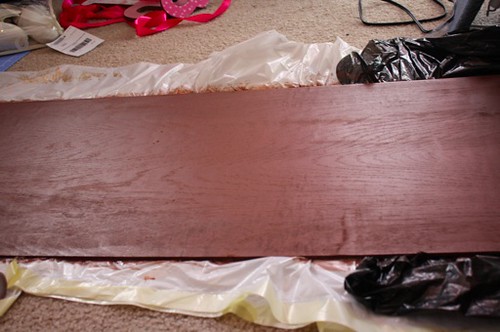
First, I bought some wood at Lowe's, I bought a big piece that was 4 feet long, by 2 feet wide, and got it cut down to 17in wide (the size of the vinyl). It wasn't thick... About 1/4 of an inch.
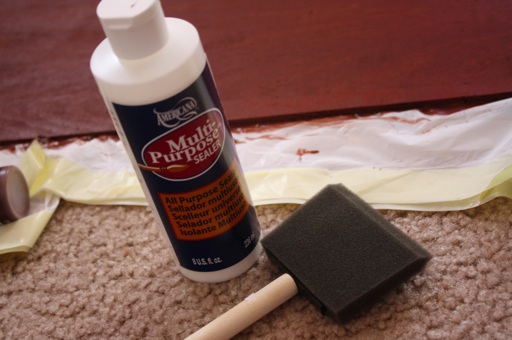
I got home and painted it with two coats of brown, and a coat of sealant. You can get sealant at any craft store, and it's not too expensive... about $5 for a bottle that should last awhile.
I made sure to get the sides and everything real good, and then I waited for it to dry.

Now it's time to get the vinyl! ... See where I'm going with this? One thing I like about Trading Phrases is they sent two pieces of "practice vinyl" with smaller phrases so I could get the hang of how to peel the papers and stuff before I did it for real... Good idea cause reading the instructions were a little confusing at first, but after I tried it a couple of times on the bottom of the my door for practice, I got the hang of it.

Now it was time to lay it out on the wood. Since mine came in two parts I took some time to mark where I wanted each piece to start and stop. Since the wood was practically the perfect size I had to make sure no words were falling off the edge.
I got it lined up and put down the first part.
Then the second part! And then covered both with another layer of sealant. I noticed there was some blank space in the bottom corner of the wood, and normally on the wall I think it would look fine, but since it was plain brown there I decided to spruce it up a little with some paper butterflies I had left over from the butterfly mobile I made. Then... TADA!!!!
What do you think? See, now the whole point of this meme thing is to get encouragement so don't let me down!

I'm really happy with how it all turned out, and the best part is I can take it with me when we move!

If you DO put it on the wall, it's way easy to take off just by peeling, or adding a little heat (with something like a blow dryer) and peeling.

Want to try this craft yourself? Trading Phrases has offered to donate this wall decal to one of my readers!! It'll come in black 24in X 11in, it's over a $39 value! And if you want to add it to a plaque, now you know how!! Want to get to know Trading Phrases better? They're @TradingPhrases on twitter and they have a Facebook Fan Page.

*HOW TO ENTER*
Visit Trading Phrases and tell me your favorite wall decal in the comments. That's all! See? Easy peasey!

*FOR EXTRA ENTRIES*
-Be(come) a follower of my blog
-Link up to What I'm makin(g) Monday this Monday 4/12 or next Monday 4/19 or the last day of the giveaway 4/26, and leave a comment letting me know you did! (2 entries for each time you participate!)

Contest ends April 26th, at 11:59pm. Random.org will choose a winner! Good luck!

Did you make something? Please share! In your post, link back to "What I'm Makin(g) Monday" and link up!

Friday, July 4, 2014

What I'm Makin Monday: Baby Hair Bows

Woohoo! It's my 2nd "What I'm Makin' Monday" I'm keeping the streak alive so far, and I have another fun giveaway this week too.

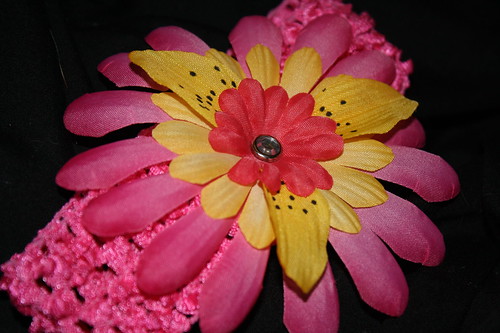
Before I was even TRYING to get pregnant I was obsessed with cute little baby hair bows. Specifically the humongous flower ones with the netting headbands. I was obsessed. But I couldn't believe the prices for some of these things... $7, $10 some even $20! There must be a way to make them for less!!

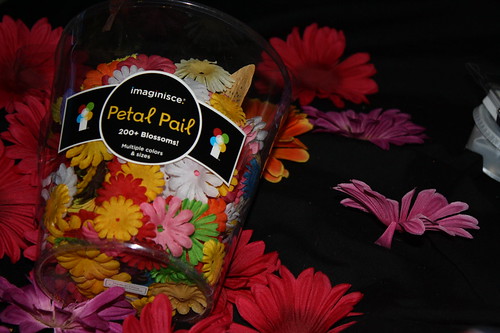
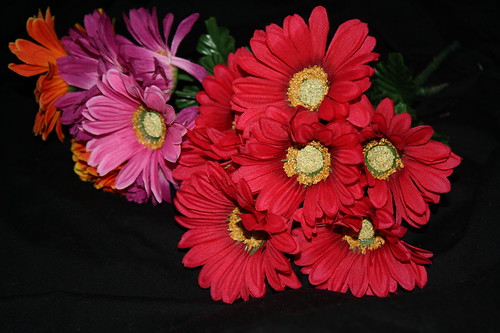
I discovered these Petaloo flowers at Hobby Lobby for $5.99. They were PERFECT for my new craft. The large box contained 20 assorted flowers in varying sizes. I also bought a couple of big tubs of silk flowers from Lakeside Collection for less than $5 a tub for 400 flowers.It was an easy way to mix and match the flowers to make adorable headbands. But recently, my friend and soon-to-be maternity, birth, and full-time personal photographer Tara showed me a trick with flowers from the dollar store... yes the dollartree!! Which is nice because sometimes the other bundles are lacking these larger flowers.I bought a couple boquets there for well... a dollar, and decided to give it a try this week. I had A LOT I mean, like over 100 of bows to finish for people who donated to March of Dimes during my fundraiser and I finally finished them! I still have to take out a loan to be able to mail them all but anyway... Here's how I did it:

Besides the flowers you'll need:

-Some grosgrain ribbon
-A hot glue gun
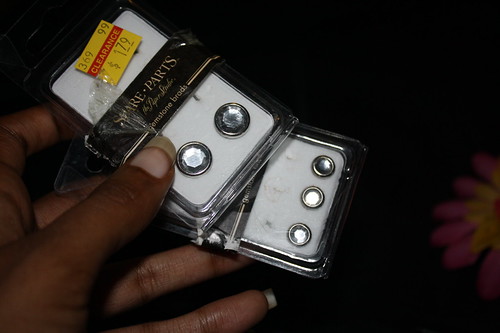
-Metal brads
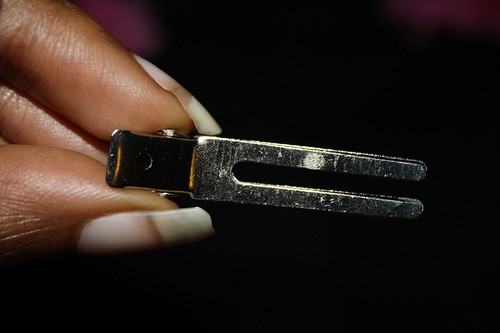
-Double prong metal hair clips
-Headbands (optional)

1. Take the petals out of the boxes/tubs/ pull them off the silk flowers from the dollar store. They come completely apart, and you can sort them by color and decide how you want to match up the flowers in layers.

2. Organize the flowers by placing them how you'd like to see them when they're done. I usually made mine with 3-4 layers, obviously with the bigger ones in the back, but sometimes I'd get creative.

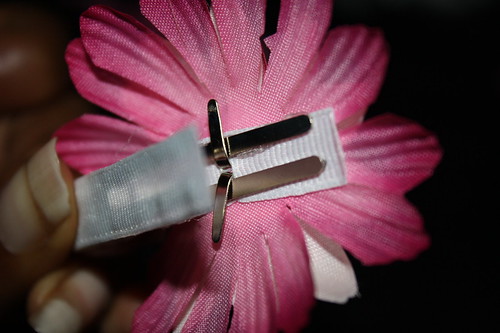
3. Stick the brad through to hold the flowers together.

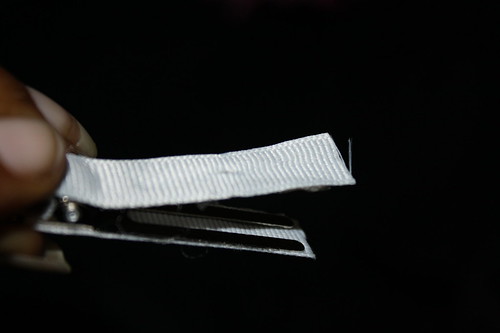
4. Take your ribbon and glue it around the double prong metal hair clip. I burned the edges of the ribbon after I glued it with a lighter so it wouldn't fray.

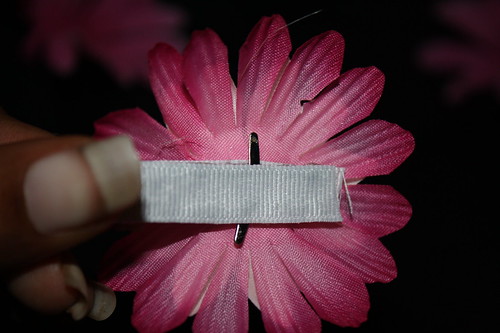
5. Stick the brad through the middle of the ribbon and between the two metal prongs of the hair clippy, open the brad accross the other side to keep it in place.

TADA!!

If you want you can add the clippy to a crocheted headband. I use to make them but when I realized I had to make like 100 of these things I ordered some on eBay for a great deal! I prefer to pay less than $0.50/ headband, and there's a shop I buy them from for about $0.41 each with free shipping!
You can also make a headband if you have extra pantie hose around, just cut it off at the right length and sew the two ends together. Stick the clippy flower where it's stitched together and TADA!!!

Check out my models:
(Zoila)

(Bubby)
I probably spent about $45 to make about 60 flower headbands (more than that in clippes) and I still have lots of leftover flowers, but that's because I bought some of the more expensive Petaloo flowers at first, and didn't buy as many from the dollar store. That's about $0.75/ headband! Granted, buying the supplies in bulk helps.

Sadly Spawnie won't have all 60 to herself, she actually has about 2, but I'm hoping once these are all mailed off I'll get to making more just for her... I'm thinking, one for every day/outfit and who knows, maybe one day I'll sell these.

I ended up having a few extra flower hair clippies and I'll give two of them to of you!

**To enter**
Be(come) a follower of my blog or link up to my "What I'm Makin(g) Monday" with a post of your own! Just add your link to the Mr. Linky below but make sure your post has a link back to this post. Eventually I'll have a cute button you can share but for now... Just boring old text links.

If you are a follower AND link up, leave two comments, you double your entries! I'm loving visiting your sites and seeing what you're making, whether it's food or a craft, it's inspiring me to try more things!

Thursday, July 3, 2014

Making No Sew Curtains for Spawnie: What I'm Makin(g) Monday

I know it's SO LAME but I come close to tears when I talk about putting Spawnie's nursery together. Decorating a nursery for a little girl is quite honestly something I've dreamed of doing for SO LONG.I've never had a set sketch or layout decided but I've always known I'd want lots of PINK... And some other colors. Well, finding the swatches of the bedding I love, and adding that with other items in the room to match has been one of the most fun experiences of my life.

I was just telling a friend that I have NEVER decorated an entire room... Never had something on every wall, or enough curtains for all of the windows. I'm just not a very good decorator and my rooms have always been very plain. Even now my living room has basically four things hung up but there's SO MUCH blank space on the walls, I don't have any decorative pillows, I'm missing a curtain panel, and nothing really coordinates.

I've tried to make my living room look trendy but since we've moved so much it's been hard to keep up with.

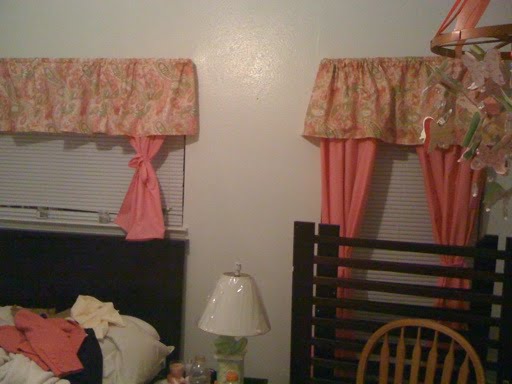
With my Spawnie's nursery I've tried to turn over a new leaf. I already have something on almost all of the walls and I'm not stopping! It's also the first time I've had curtains AND valances, and guess what?... I MADE THEM MYSELF! Operation Nursery Makeover Part 5 (click that link to read 1-4)!And since my sewing machine is out of commission right now I did it WITHOUT sewing. I used this wonderful stuff right here! Iron-on adhesive. I got the extra-strength Heat n Bond and it works GREAT!

So for you ladies who don't have, or are intimidated by sewing machines this is a fast and cheap way to do it! Honestly the HARDEST part of this whole ordeal was picking fabric and getting it cut the right size. I brought fabric swatches to match with my bedding coming from Artistic Sensations and ended up ordering some of the same fabric online for the valance, but getting a pink at the store to match.I was LITERALLY in the fabric store walking round and round doing math in my head and near tears, ok I lied... IN tears trying to figure out how much I needed and why I kept calculating "6 yards."

Turns out I was converting inches to FEET and THINKING yards and got way thrown off.... Stupid Preggo Brain. My best advice is to ASK FOR HELP from the nice lady cutting your fabric. I told the lady at Hancock Fabrics I was making curtains and she asked me "want them to bunch?" then when I said "yea" she helped me cut the right length! I asked her to cut each one in half too so the sizes were pretty much set for each panel.

She also told me to pre-wash the fabric cause it can (and did) shrink. So I used our washer and dryer for the first time in about a year... I didn't even need my husband's help to do it! And I pre-shrunk the fabric!After that I ironed out all of the fabric and got to sewing... I mean, more ironing.

For three sides I folded over the edges by about 1/2 inch for a hem. Then at the fourth side (which would be placed at the top, that the curtain rod would go in) I folded over a hem, then folded again about an inch so there was room for the rod.I ironed each side down first to make a crease, then cut the iron stitch stuff to the same length of each side, placed it under the folded-over part, and ironed it shut!!

Repeat for each panel, place on the inner curtain rod and TADAA!!The valances were easier cause there was less fabric. I only bought 2 yards and I have lots left over that I'll use for a pillow. Same story, just different lengths... Mine are about 23 inches long.Put those on the outer curtain rod and TADAA!!So, what do you think?! And you are lucky cause I was gonna save these pics for a part of the nursery reveal but what the heck, I'm so excited I wanted to show it off!! The crib wasn't up in this picture though, and the room was a mess so seeing everything together will still be a surprise.

What did you make? Link up and share! I'm loving visiting your sites and getting more fun ideas! I'm visiting them all! Be sure to link back to "What I'm Makin(g) Monday" here to help spread the word!

Wednesday, July 2, 2014

Tutus Galore {and Giveaway}!: What I'm Making Monday

What I'm Making Monday
When I found out I was having a girl I knew I was in trouble. KNEW I was in trouble. I've been the most prissy little thing on the block practically from birth myself. My mom taught me well, and I plan to do the same with my little one.

Now tutus are great. I never was a ballerina (pigeon toed plies don't work) but I loved to dress like one. Even if that meant tights under bathing suits, I did what it took. However, I don't recall having a tutu. My daughter won't have that problem. And neither will yours!

I was on Twitter one day rambling about wanting to buy a tutu at an affordable price when someone directed me to this tutu tutorial.

Wow, seriously, is it that freaking EASY?!

Yep.

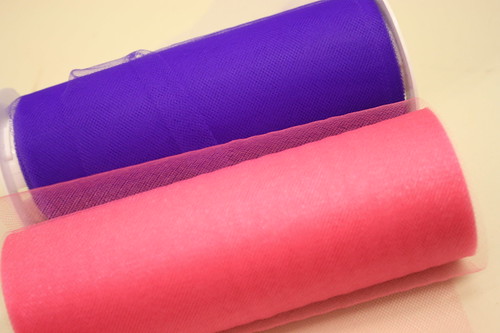
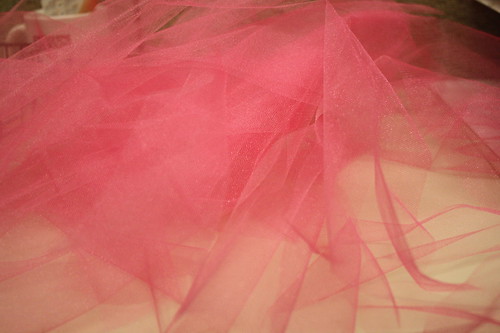
I went to Hobby Lobby and bought two rolls of tulle.. The ones that are 25 feet by 6in for $2.99 each. THIS made it WAY easier. The tutorial doesn't mention these things!


I also bought a roll of elastic for under $2.


Cut the elastic. I measured it to be about 6-8 inches I believe using some other of Spawnie's clothing to gauge how wide to make it (waist size). It also stretches out a couple of inches after you add the tulle so be aware of that.


I stitched it together with my sewing machine. It's not working well right now but it was able to hang in there and stitch a half and inch back and forth for me in about 15 seconds.


All I had to do was cut the tulle twice the length I wanted it to be on the skirt.

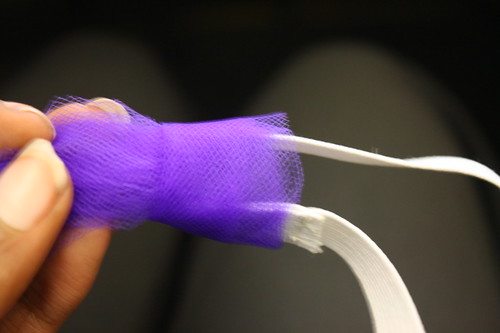
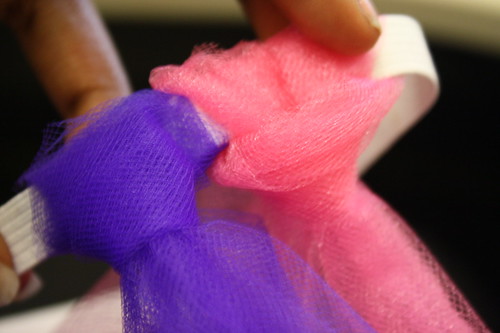
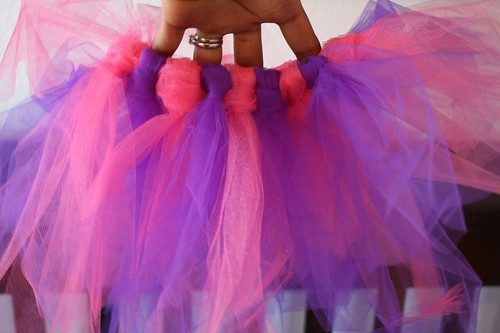
Then loop the tulle around the elastic like so...


I wasn't a boyscout so I'm not sure the exact name of this knot but it's EASY! Just loop it under the elastic and pull the tulle through the other side. Doesn't matter which way the knot sits cause you can turn it before pulling it tight.


Do that over.


And over, and over!


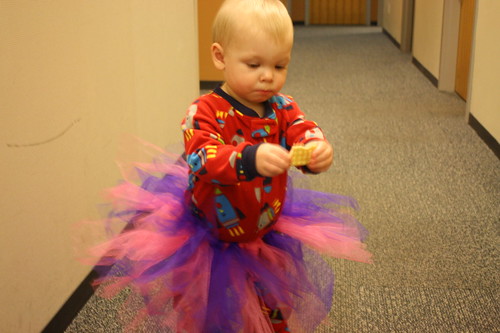
TADA!!!

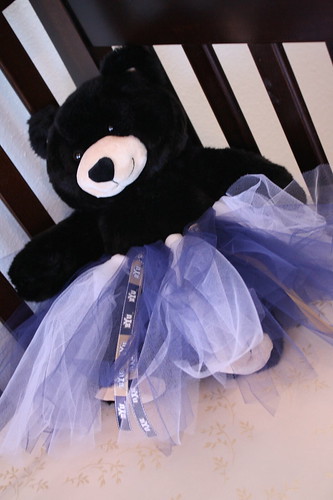
The only baby I had to model it at the time was a boy :( Don't worry, his parents knew this was for a project of mine, plus he loved it too! He's one so I think it can fit from infant up to about a one year old!


You can also add ribbon and flowers and fun things to them if you want. Mix and match the colors or make them solid colors, HAVE FUN with it!


*** NO SEW TIP***
If you don't want ANY sewing at all (cause of the elastic step in the beginning) you can use RIBBON instead. Satin ribbon works great, but make it EXTRA LONG so you can tie a pretty bow once it's on your little princess. Tie the tulle around the ribbon the same way as shown earlier then tie it around your little girl when it's all done! No sewing needed!!


The 2 rolls of tulle made two matching tutus so I gave one to a friend (with a baby girl) and Spawnie has the other waiting for her! I can't wait to show you another photo with her in it! Overall that cost me about $8 for two tutus... Not bad right?


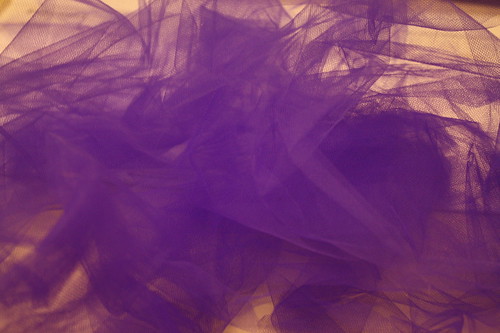
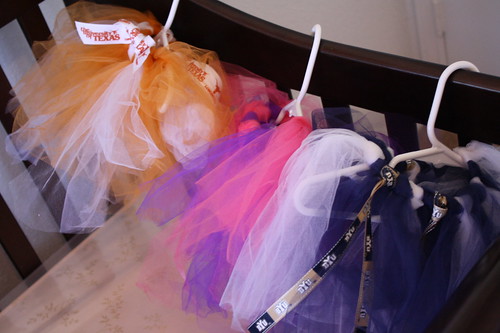
THEN I went CRAZY and bought TONS of tulle on Ebay... TONS. Here's my tulle drawer And that's not all of it cause it was just 50% off at Hobby Lobby and I got 3 more rolls. Most of the tulle I bought on ebay was the same roll size (it cuts down on cutting SO MUCH) and I got several for about $1 and free shipping! So I've been making my little girl tutus for under $2 now and Spawnie has a collection of ooh, I think about 8 tutus so far. I've taken a break from tutu making to finish her room etc, but once I'm done I'll be back to upping her collection!

And now you can make some too!

Don't have time or patience to make you own tutu? I recommend Cutie Patutus! They have the most ADORABLE selection of tutus that are so elaborate I couldn't even begin to figure out how to make!

Next tutu I make for Spawnie I'll make a matching one for one of you to win! I usually have enough tulle for two but she doesn't need two duplicates, SO one of my blog followers who leaves a comment will be entered to win a matching tutu of Spawnie's! Colors not yet determined but I promise they'll be cute.
Want an extra entry? Participate in What I'm Makin(g) Monday. Post this button on your blog and link up your What I'm Making post!
What I'm Making Monday